Fixpoint Panorama
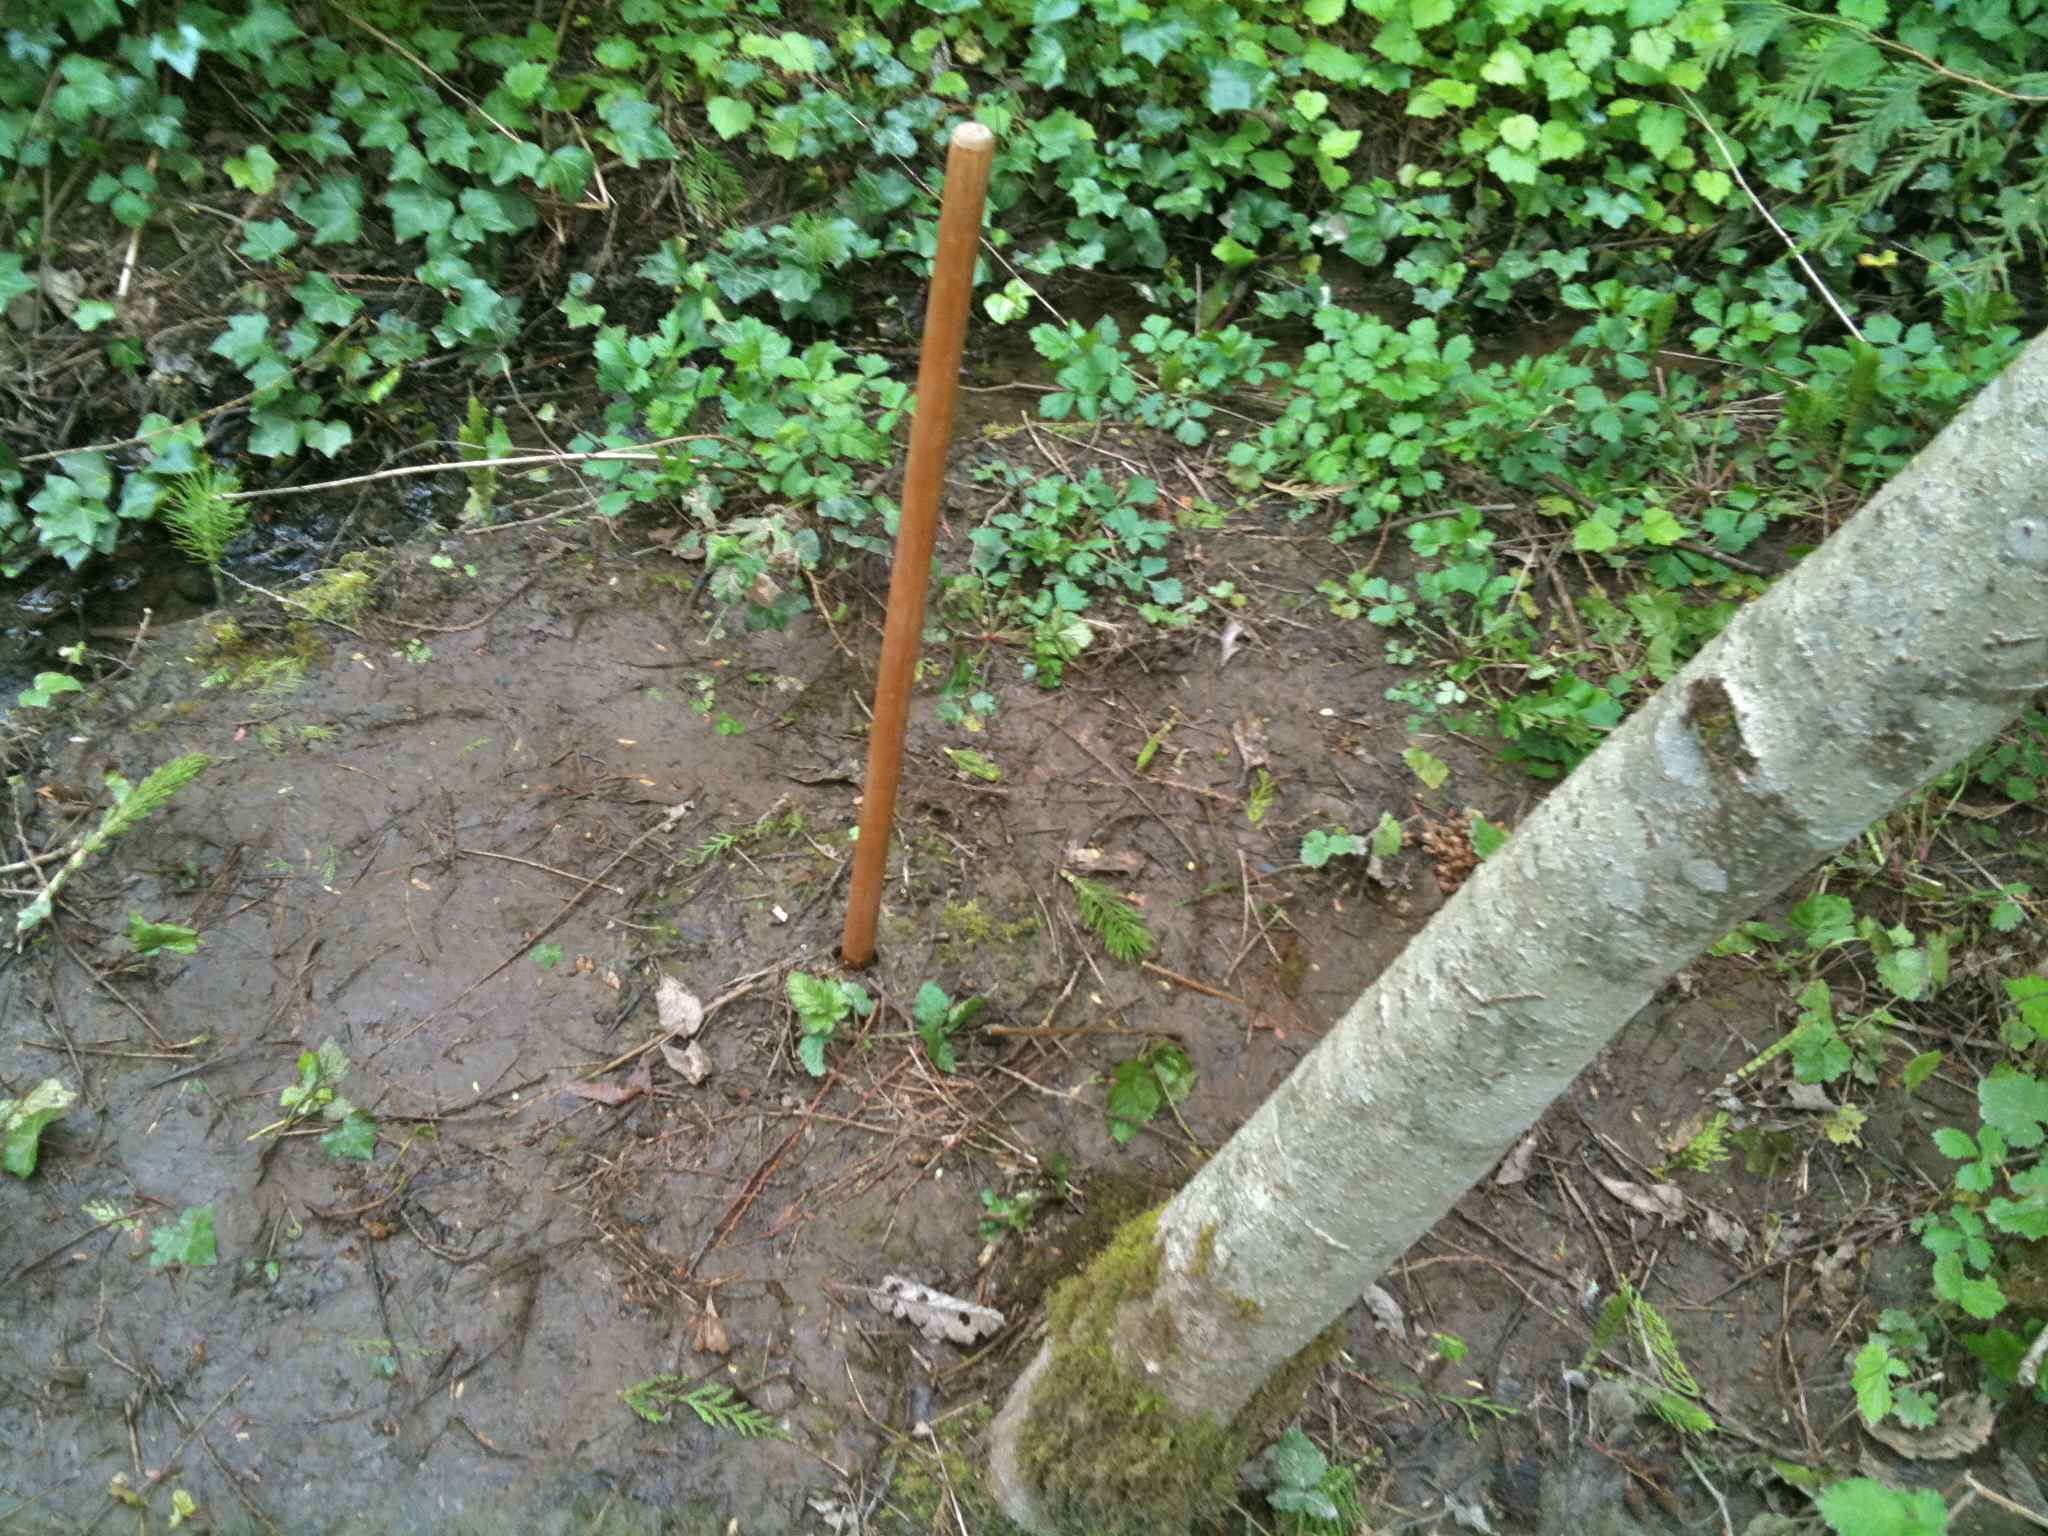
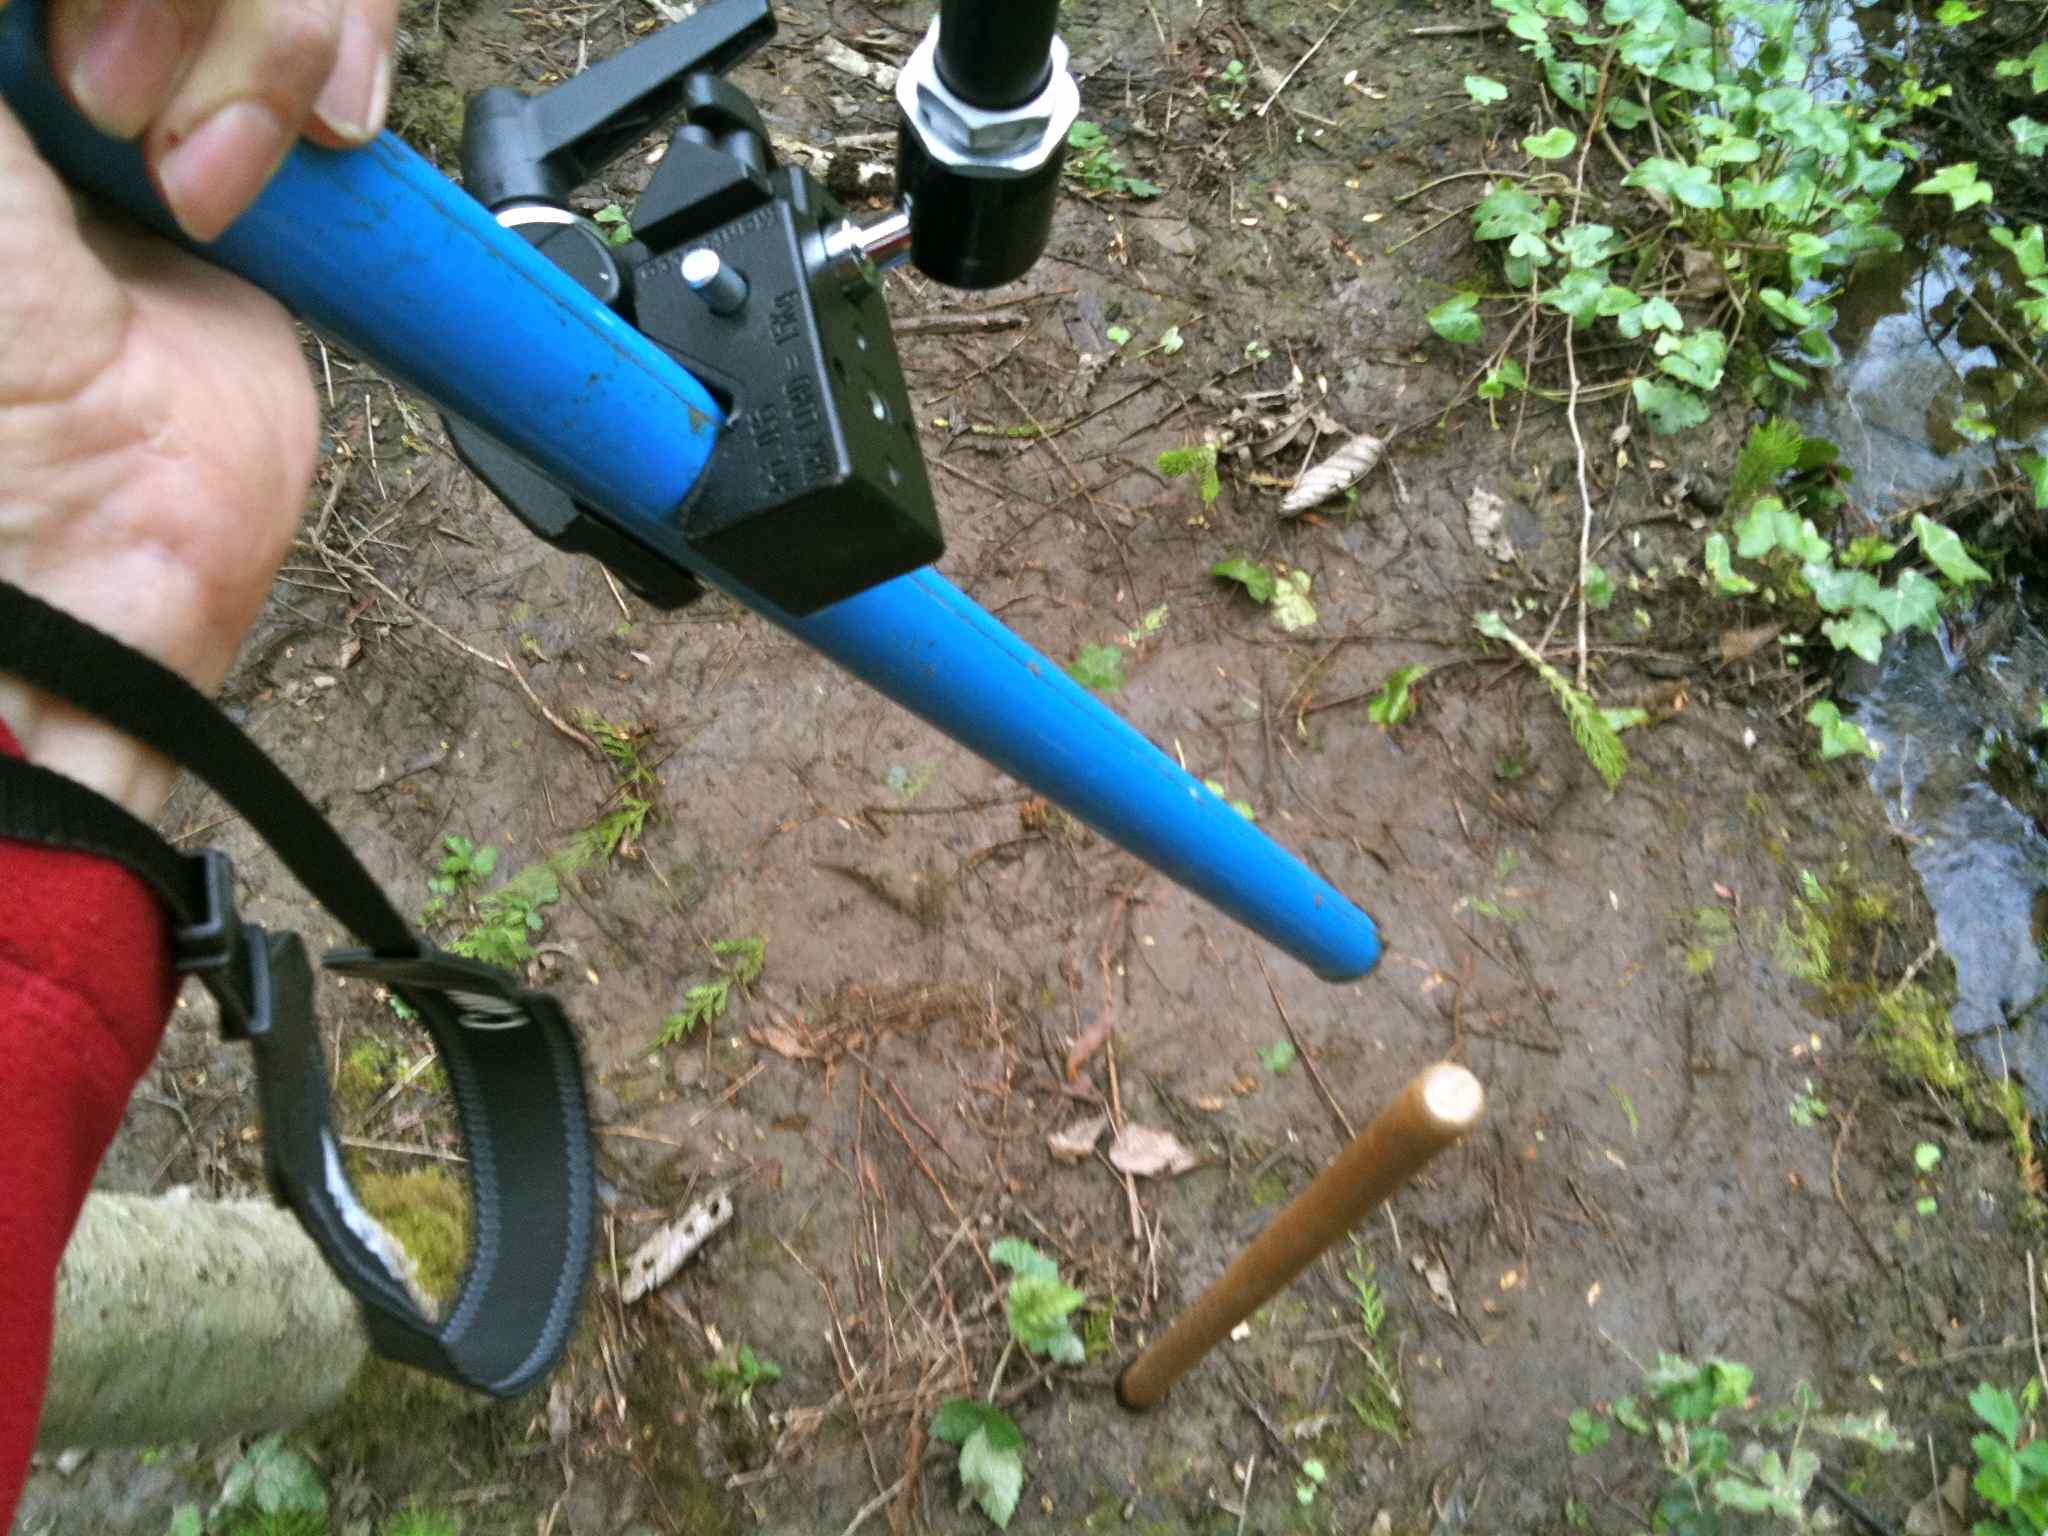
Here we have assembled a prototype two-part monopod suitable for repeated panoramic observation. One part is an inexpensive shaft driven into the ground where it remains as a permanent marker of both location and elevation of camera placement. The second part is a sleeve that fits over the shaft where it can rotate freely to any azimuth while holding the camera at a fixed elevation.
A second feature of our prototype is that the rotation can be configured to be aligned with the optical center of the camera lens, a requirement for panoramic observations with large depth of field.


Our first image consisted of 85 exposures at four different elevations. HuginSticher successfully assembled these into a 1.2 gigabyte tiff image in spite of numerous gaps from my over estimating the field of view of a 50mm lens.
Here is a screen shot of a portion of that image as viewed in OSX Preview. You get a hint how individual frames have been placed and stretched. Each frame was typically exposed for 1/2 second at f32 (chosen for depth of field).

This constitutes the reduction to practice on April 11, 2010 of an original invention by WardCunningham. We will call it the Quick Field Monopod, or WikiPod for short.
Improvements
A week has gone by so we are ready for another capture. We return to the same stake in the ground, but this time with the small modification of a rotation guide.
Our 50mm lens in portrait orientation requires an exposure every 15 degrees of horizontal rotation for sufficient image overlap for the stitching software to work well. We constructed a 15 degree guide by folding a piece of paper diagonally first in thirds and then again in half. This divided the 90 degree corner by 3 then 2 to equal 15 degrees. We sniped this with scissors to make pointers out of the edge. This photo shows the guide installed on our WikiPod with the second fold unfolded.

In use, looking down on the camera and guide, one rotates after each exposure such that what ever twig or stone is under one point is then under the other.
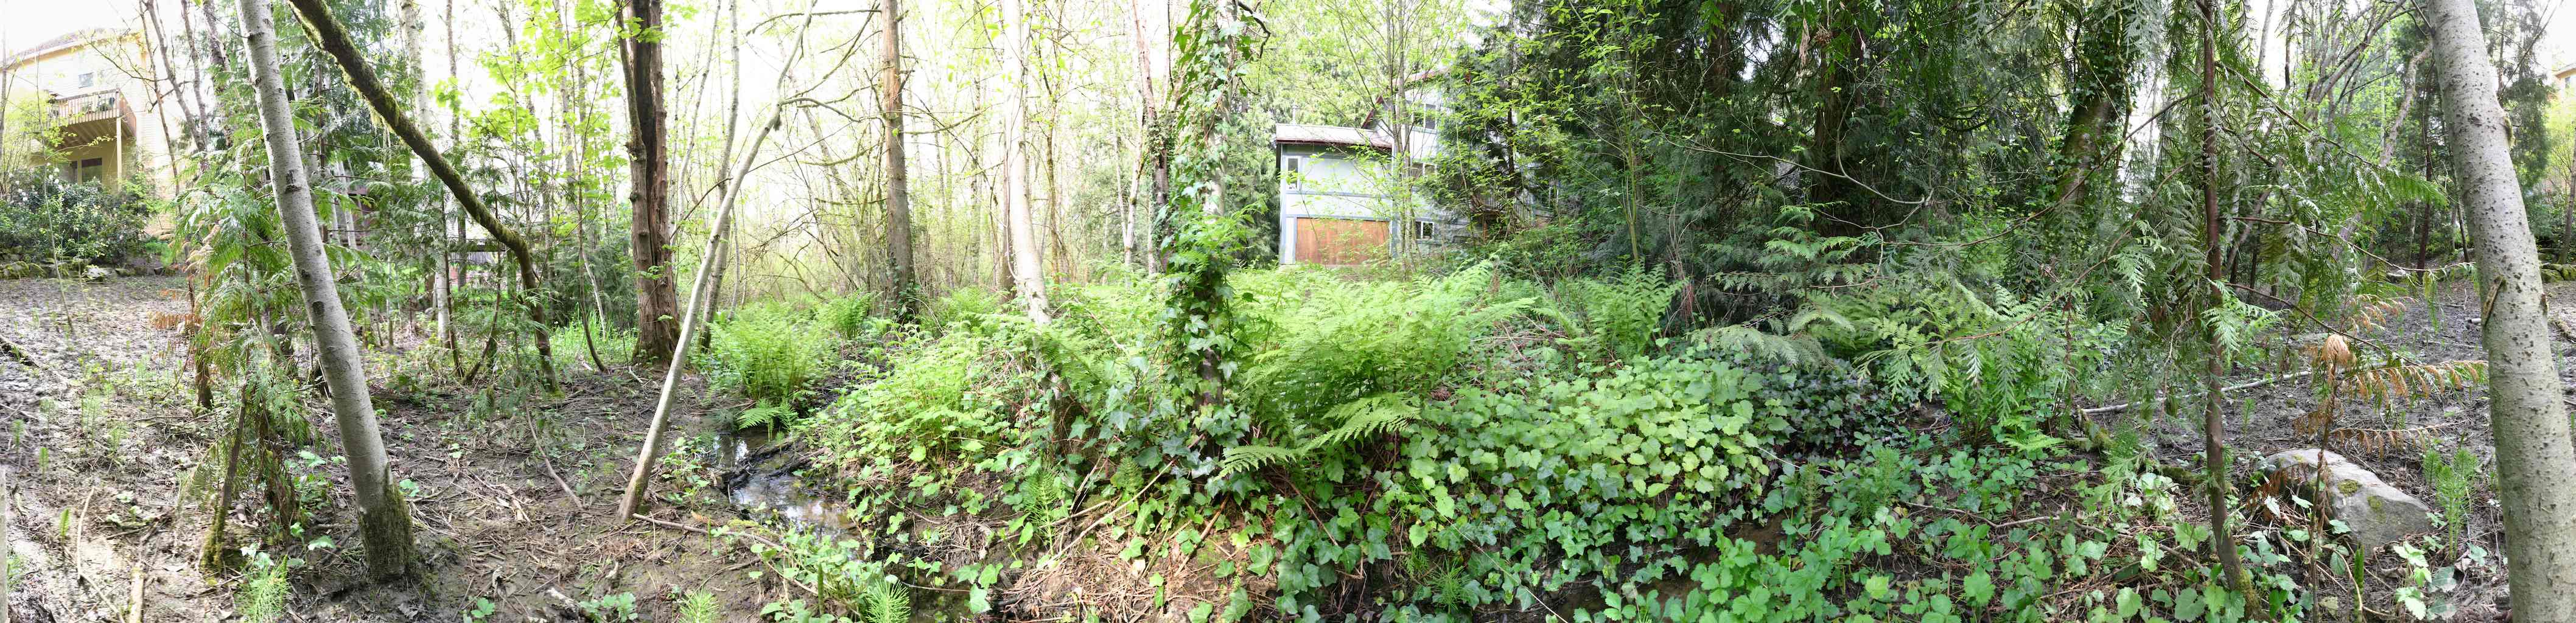
We found that the 124 images captured this way stitched beautifully to make this panorama:
We improved our software process by requesting jpeg output rather than the default tiff. The resulting image, 29815 x 7214 pixels, occupied 282 Mb of disk space. An improvement over the 1.2 Gb of our first capture. We found this sized image could be manipulated with normal software that comes installed on our apple laptop.
Exposure, focus and blur remain areas for improvement. These are our current thoughts:
- Capture on a cloudy day so the light is more uniform.
- Consider sacrificing distant sharpness for better closeup performance. (we're currently using the hyperfocal distance as marked on the lens.)
- Use a remote shutter release to avoid camera shake.
Our first monopod employed a reasonably exotic articulated arm. We've redesigned the camera mount to be constructed from readily available hardware.
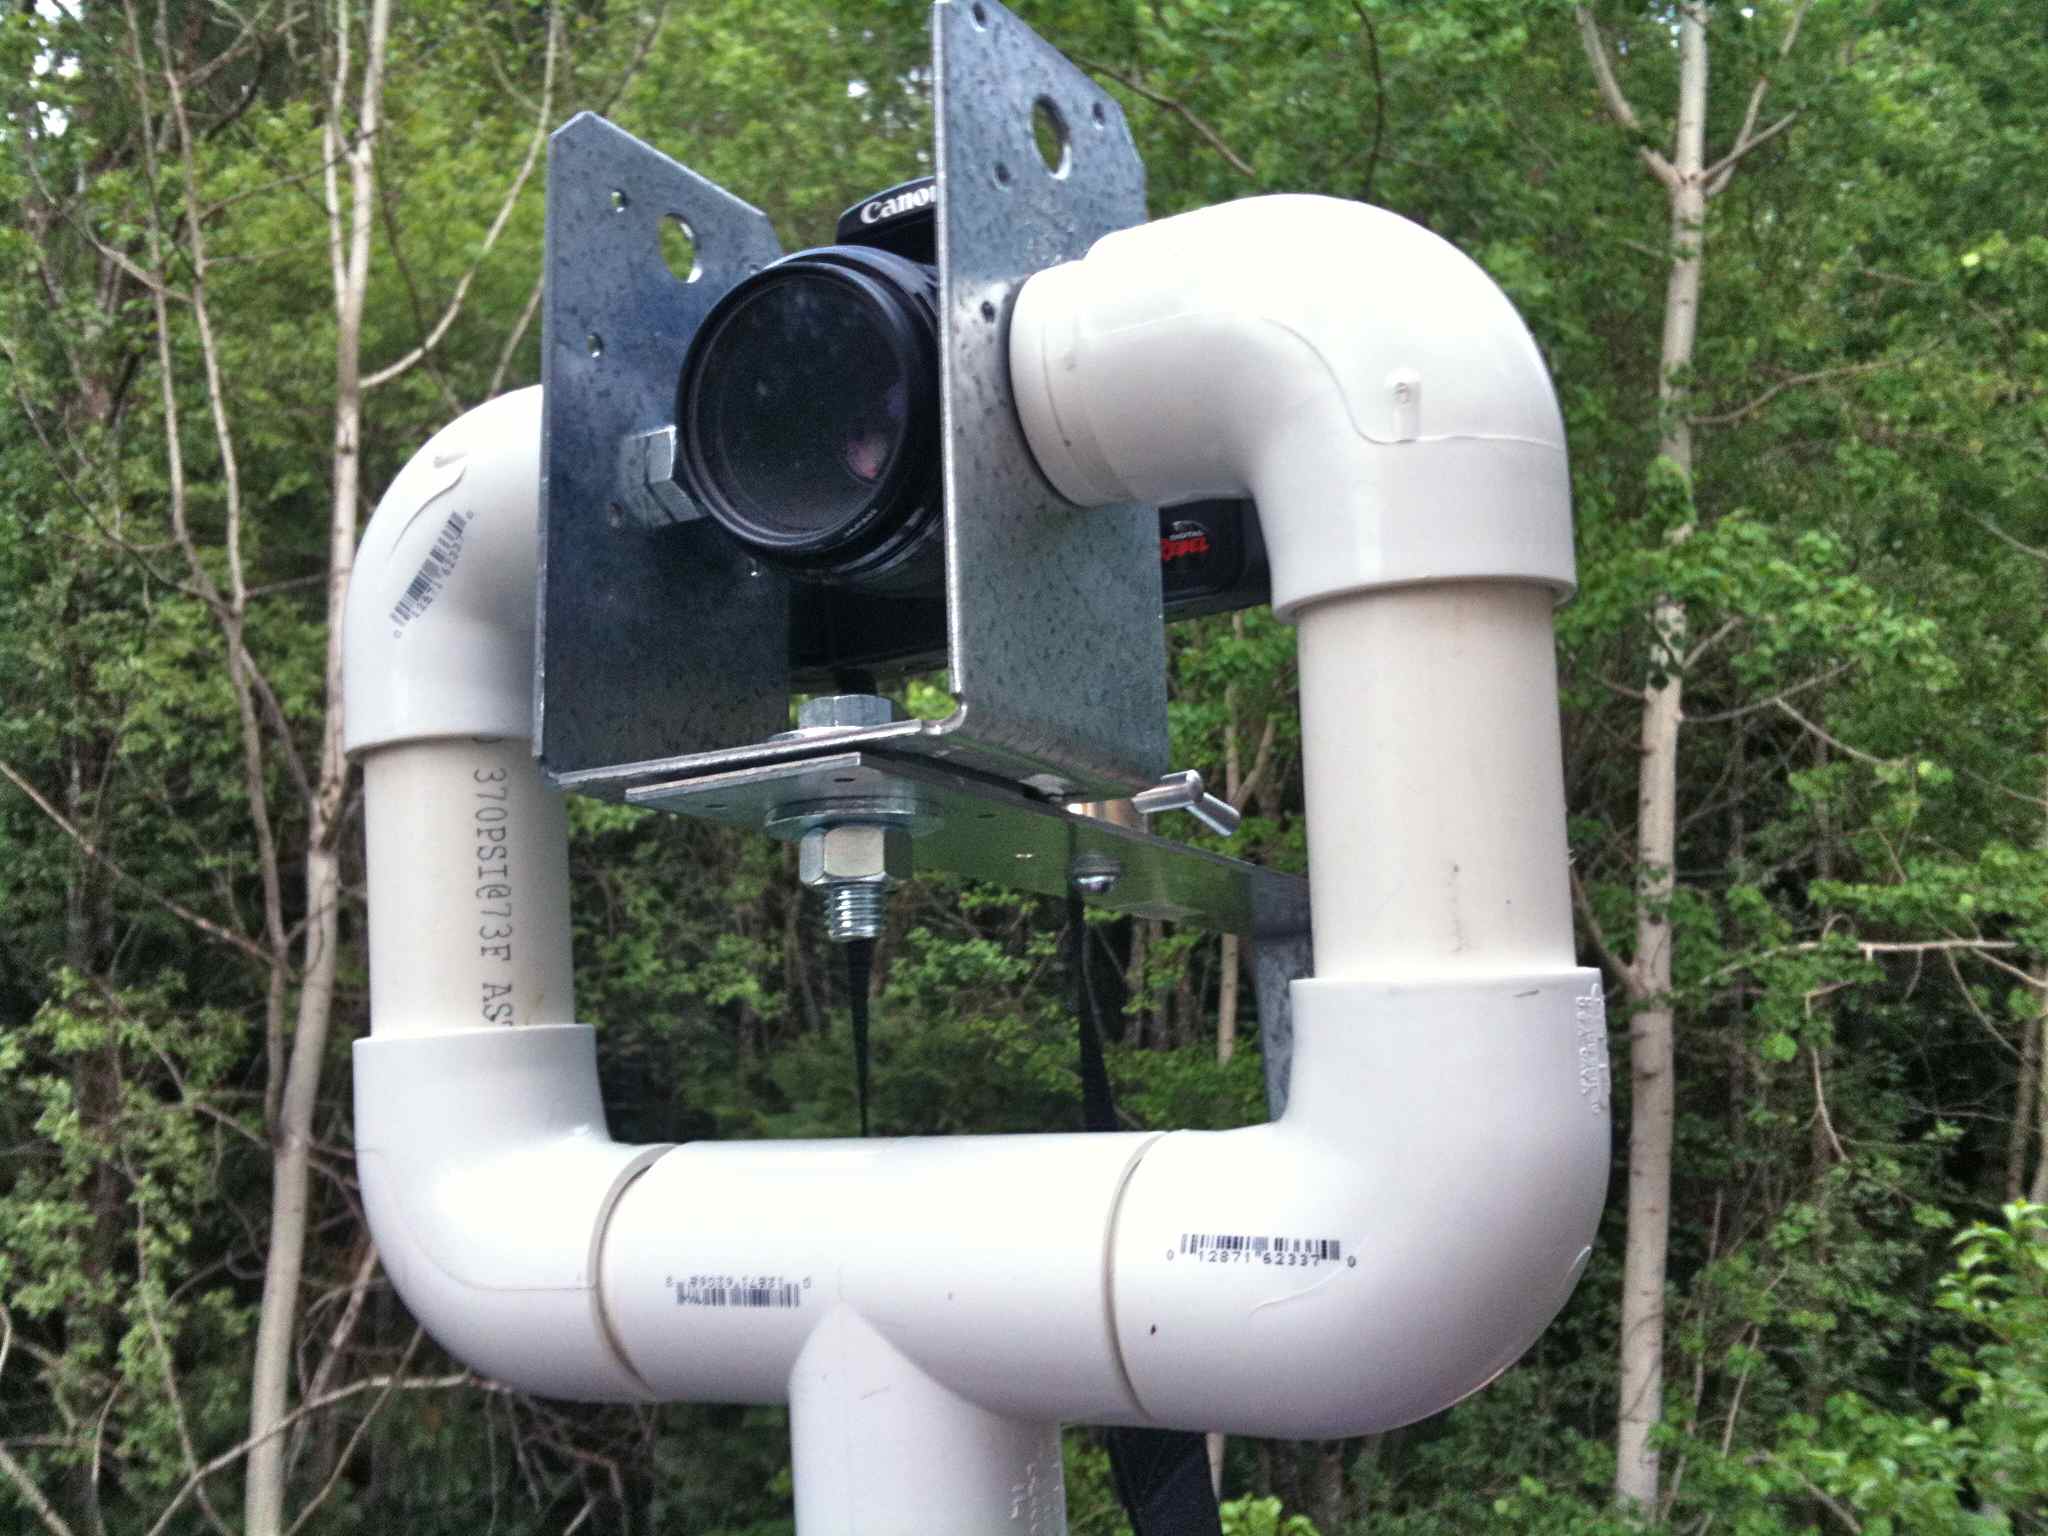
The primary materials here are PVC plumbing pipe and galvanized deck construction hardware. The spontaneous redesign took place on the floor of HomeDepot, aisle 7. Kudos to the aisle manager that helped me find parts.
The plumbing pipe fails to attract attention among geeks to the same degree as the articulated arm. We took the newly completed prototype to DorkbotPdx where we had to drag people over to look at the setup. We were fortunate to run into WilliamAegerter who recounted his longtime interest in naturally inspired panoramic, macro and timelapse photography.
- http://reallyrightstuff.com/pano/07.html -- his gear
- http://www.flickr.com/ph ... 157622456090885/ -- coastal image
- http://vimeo.com/2119022 -- slime mold timelapse
Return to WelcomeVisitors